In this post, we will learn How to install IIS in Windows 11 step-by-step, but before we begin let's first know what Microsoft IIS is.
What's Microsoft IIS?
Microsoft IIS, or Internet Information Services, is a web server software product from Microsoft for Windows systems. It is one of the most popular web servers in the world and is used to host websites of all sizes, from small personal websites to large corporate sites.
- IIS is a flexible and scalable web server that supports a wide range of protocols, including HTTP, HTTPS, FTP, FTPS, SMTP, and NNTP. It also supports a variety of programming languages and technologies, such as ASP.NET, PHP, and Python.
- IIS is included with all Windows Server operating systems, and can also be installed on Windows 10 and Windows 11. It is easy to use and manage and offers a variety of features for hosting and managing websites and web applications.
How to install Microsoft IIS on Windows 11?
To install IIS in Windows 11, you have to follow the below steps
Steps
- Open the Control Panel and go to Programs.
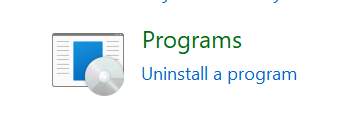
- Then go to Programs and Features

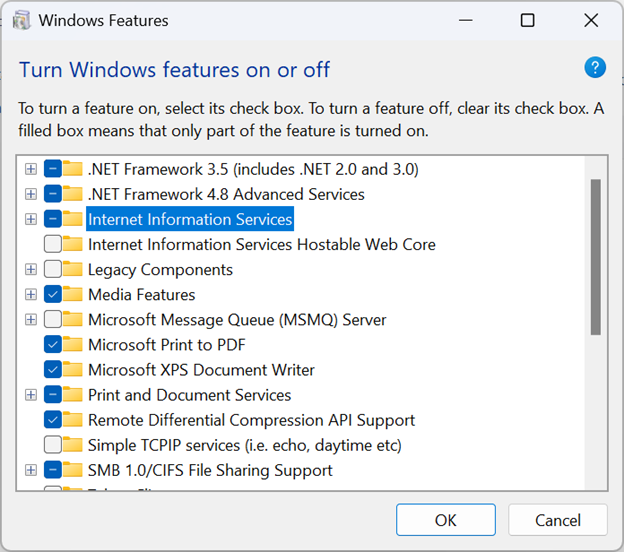
- Then click Turn Windows Features on or off

- Check the box of Internet Information Services and click OK
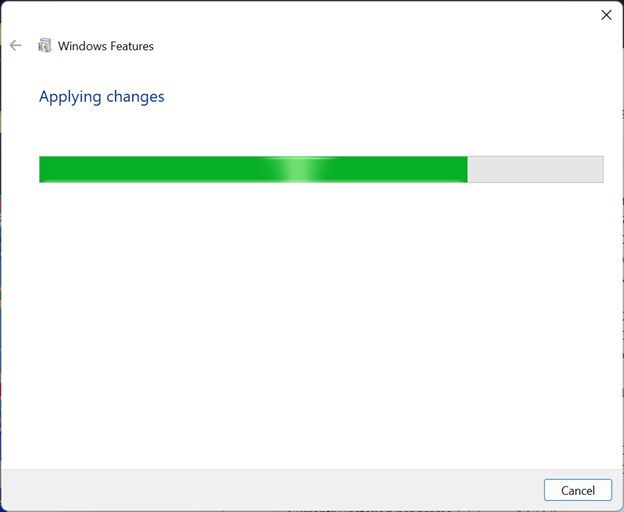
- Please wait for the IIS installation.
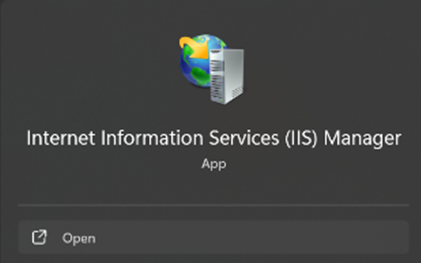
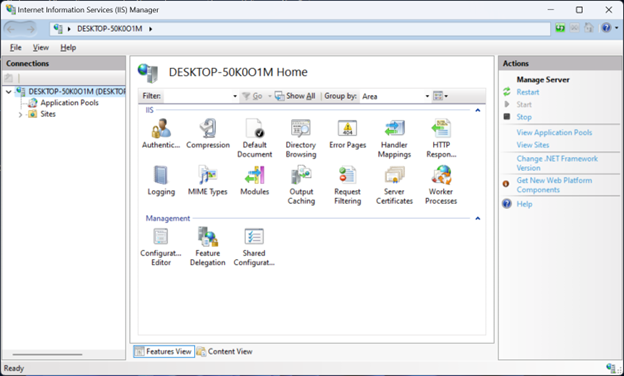
- Search for IIS in the Start menu it should appear there if the installation is completed successfully as shown below

See Also